AVE 2 Outsole Design
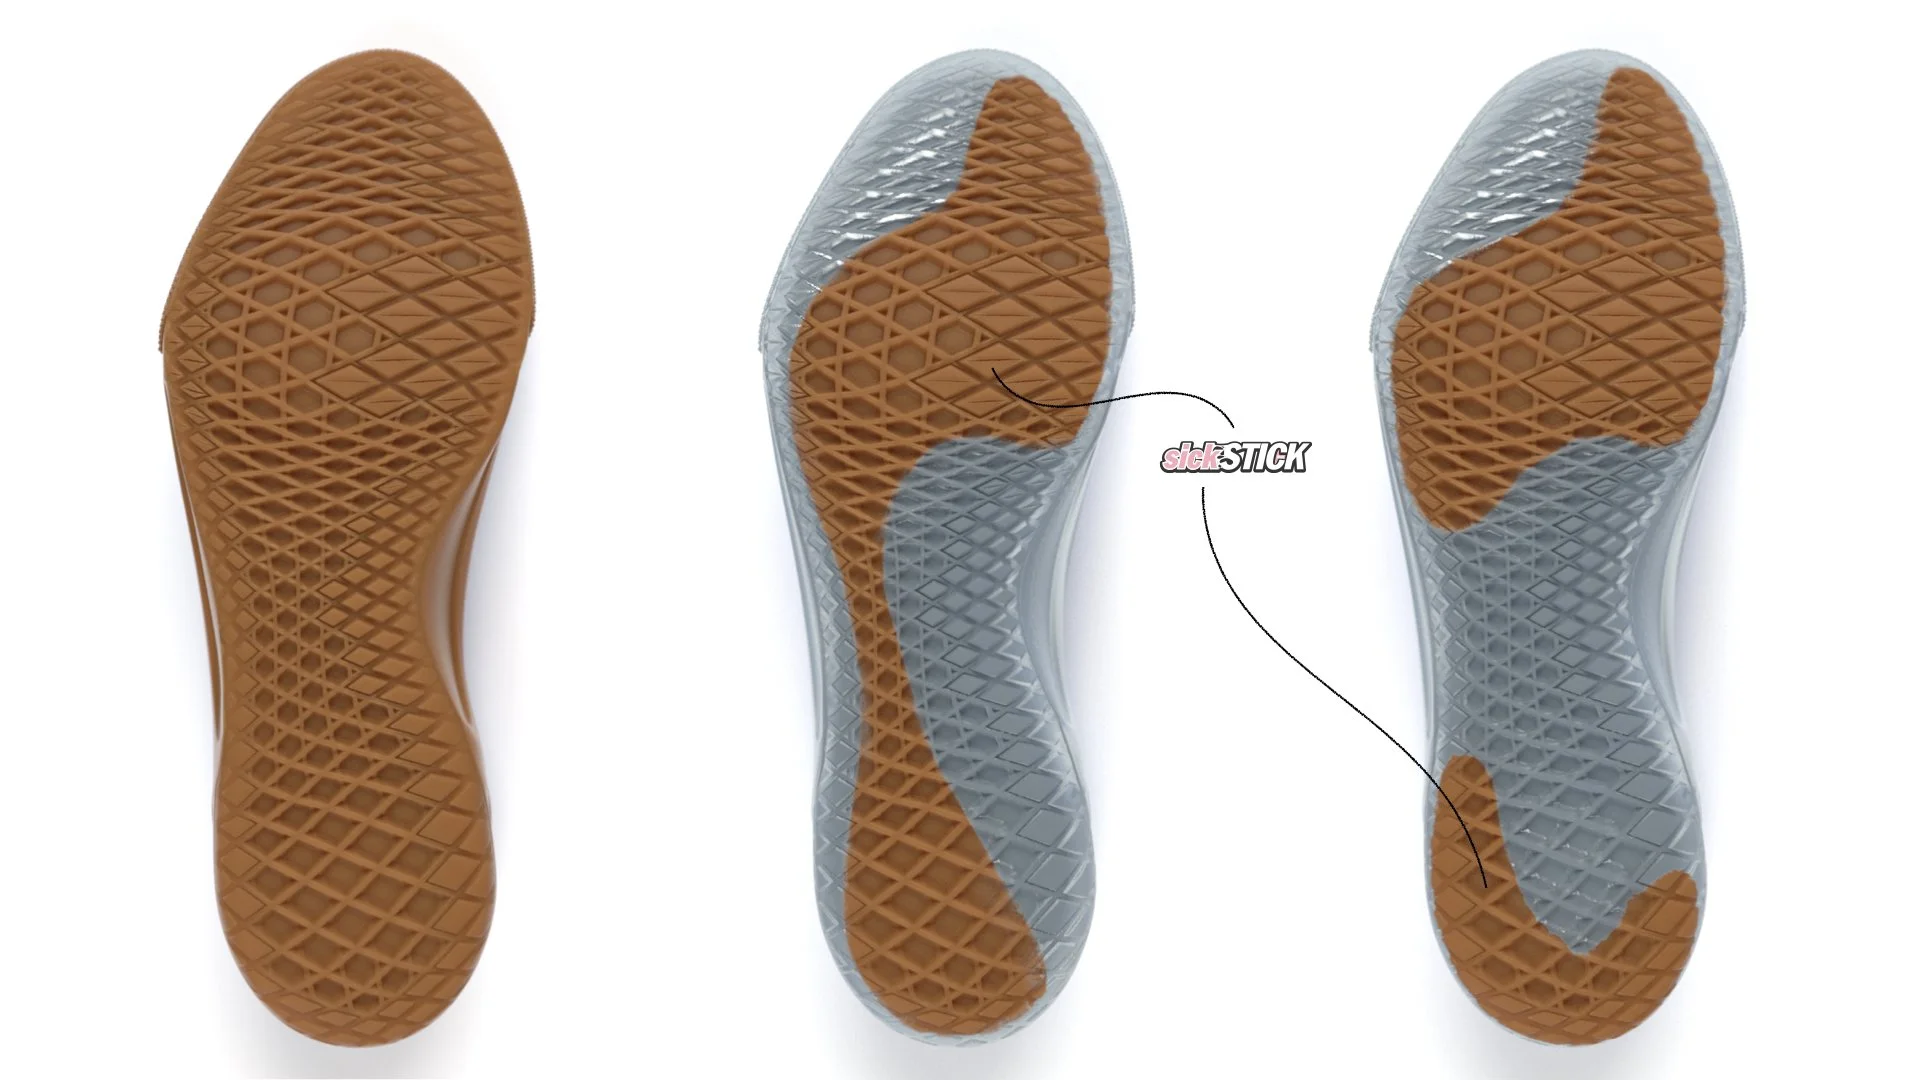
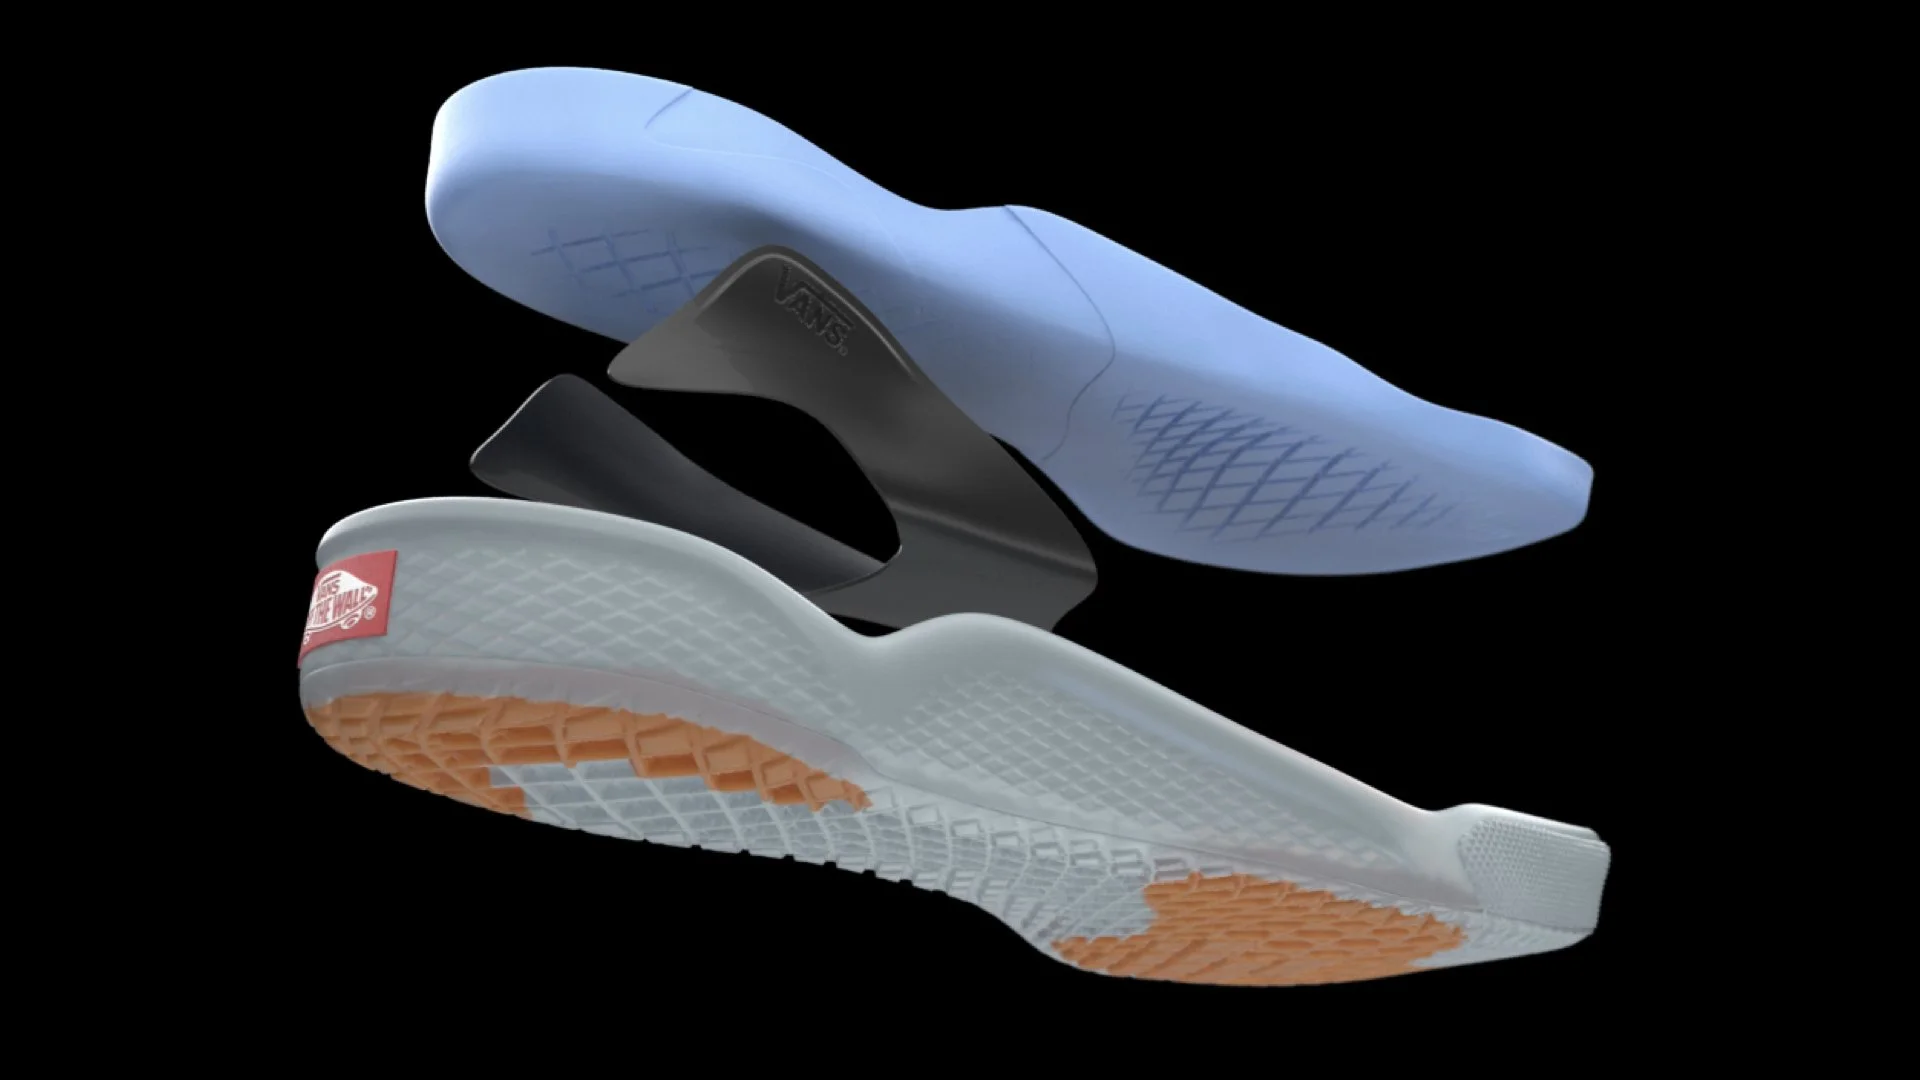
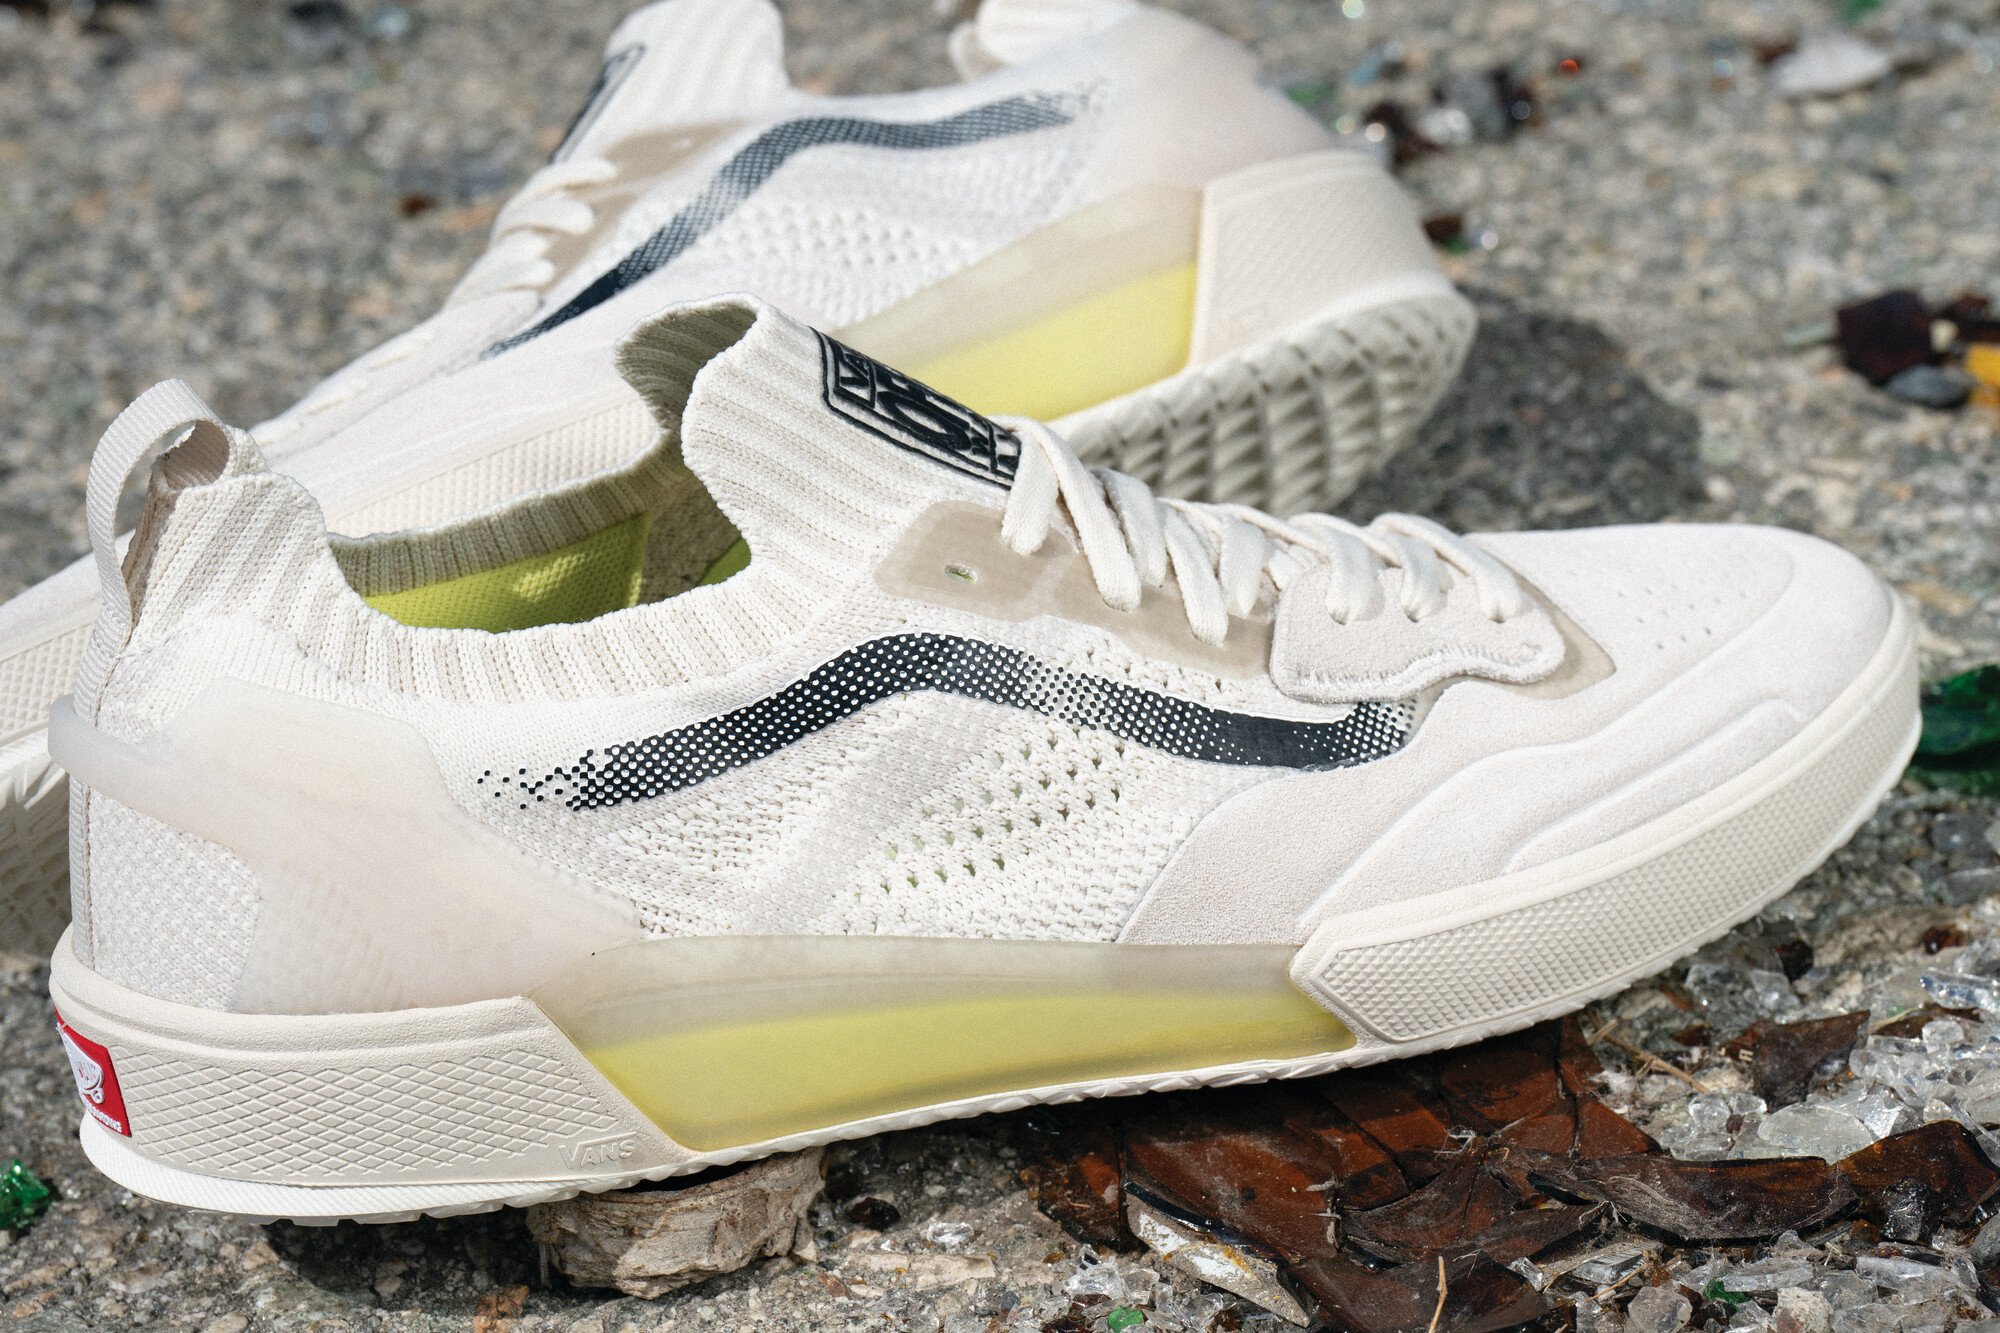
I lent a hand in designing the outsole for the AVE 2 leveraging some of the exploratory work I had been doing using Grasshopper/Rhino. The direction I was given was to focus mainly on adding grip, durability, and traction while playing into some of the new design language I was developing in some of my more conceptual work. Neal Shoemaker (design) was really trying to explore some new ways to play up transparency in the outsole which would evolve over the course of the project but the the outsole design would stay mostly unchanged all the way to the final product.
Tools used: Illustrator/Modo/Rhino
Concept sketch from Neal Shoemaker (design)
Skate specific image showing high pressure zones during activity
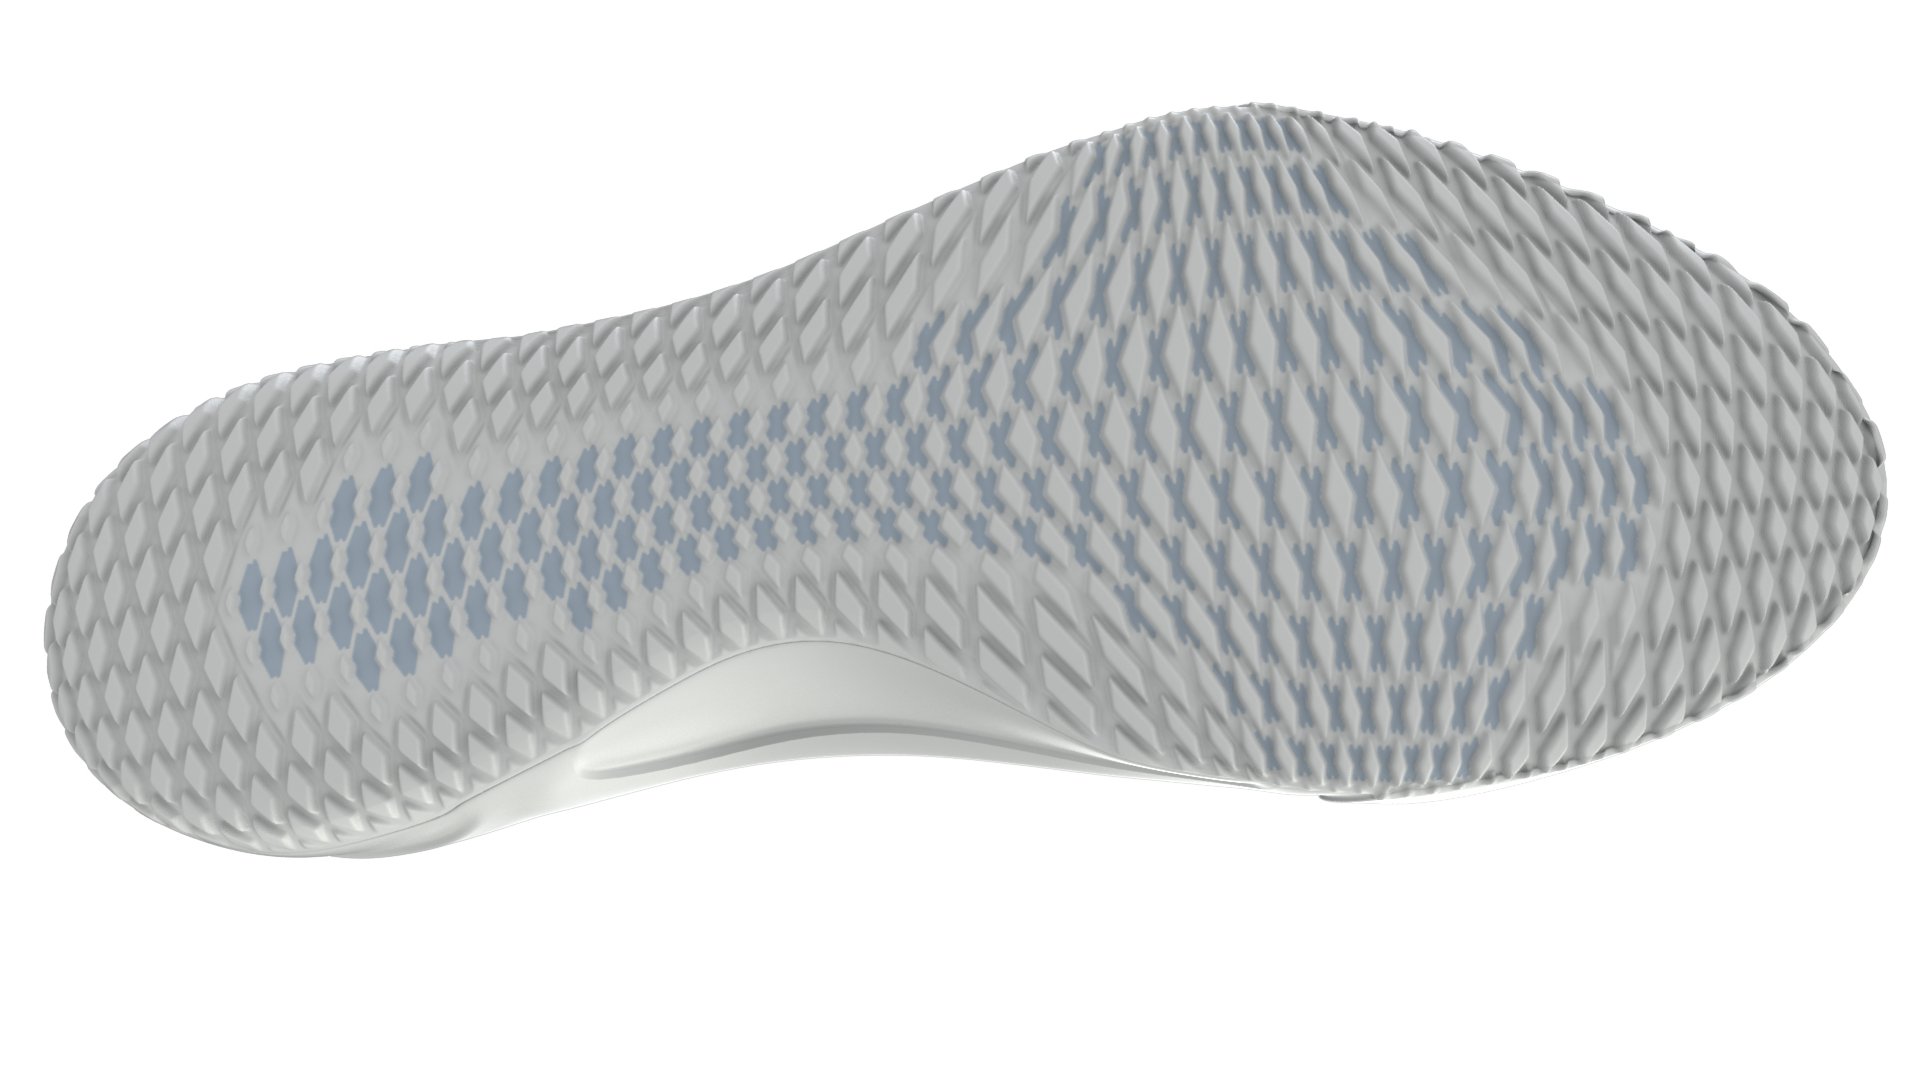
(Above) Early explorations I had done prior to the project start. When I was playing around with these concepts I had an idea that maybe it could influence the AVE 2 so I leaned into the transparency. Something I was pitching with these was straying away from the diamond which is embedded into our d.n.a. as a brand, however for the AVE project it was important to maintain some of the lineage from the previous model.
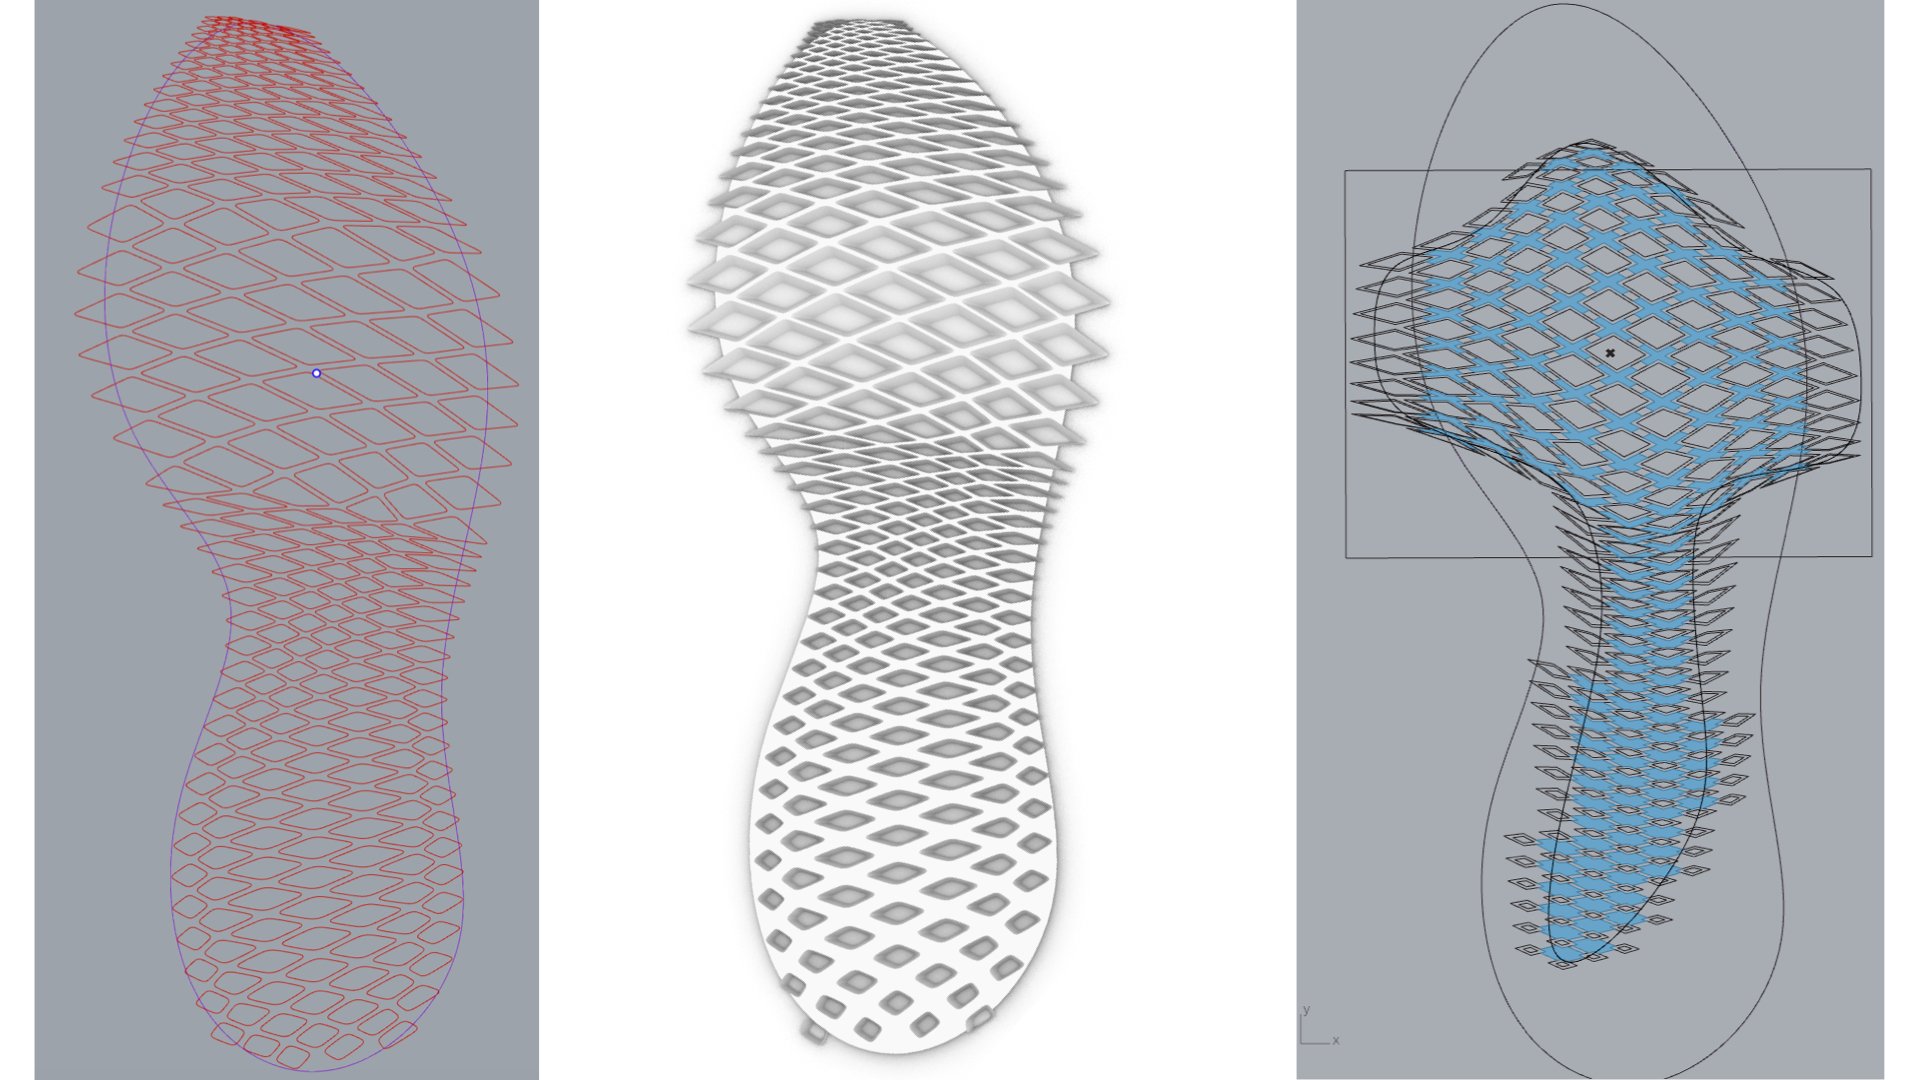
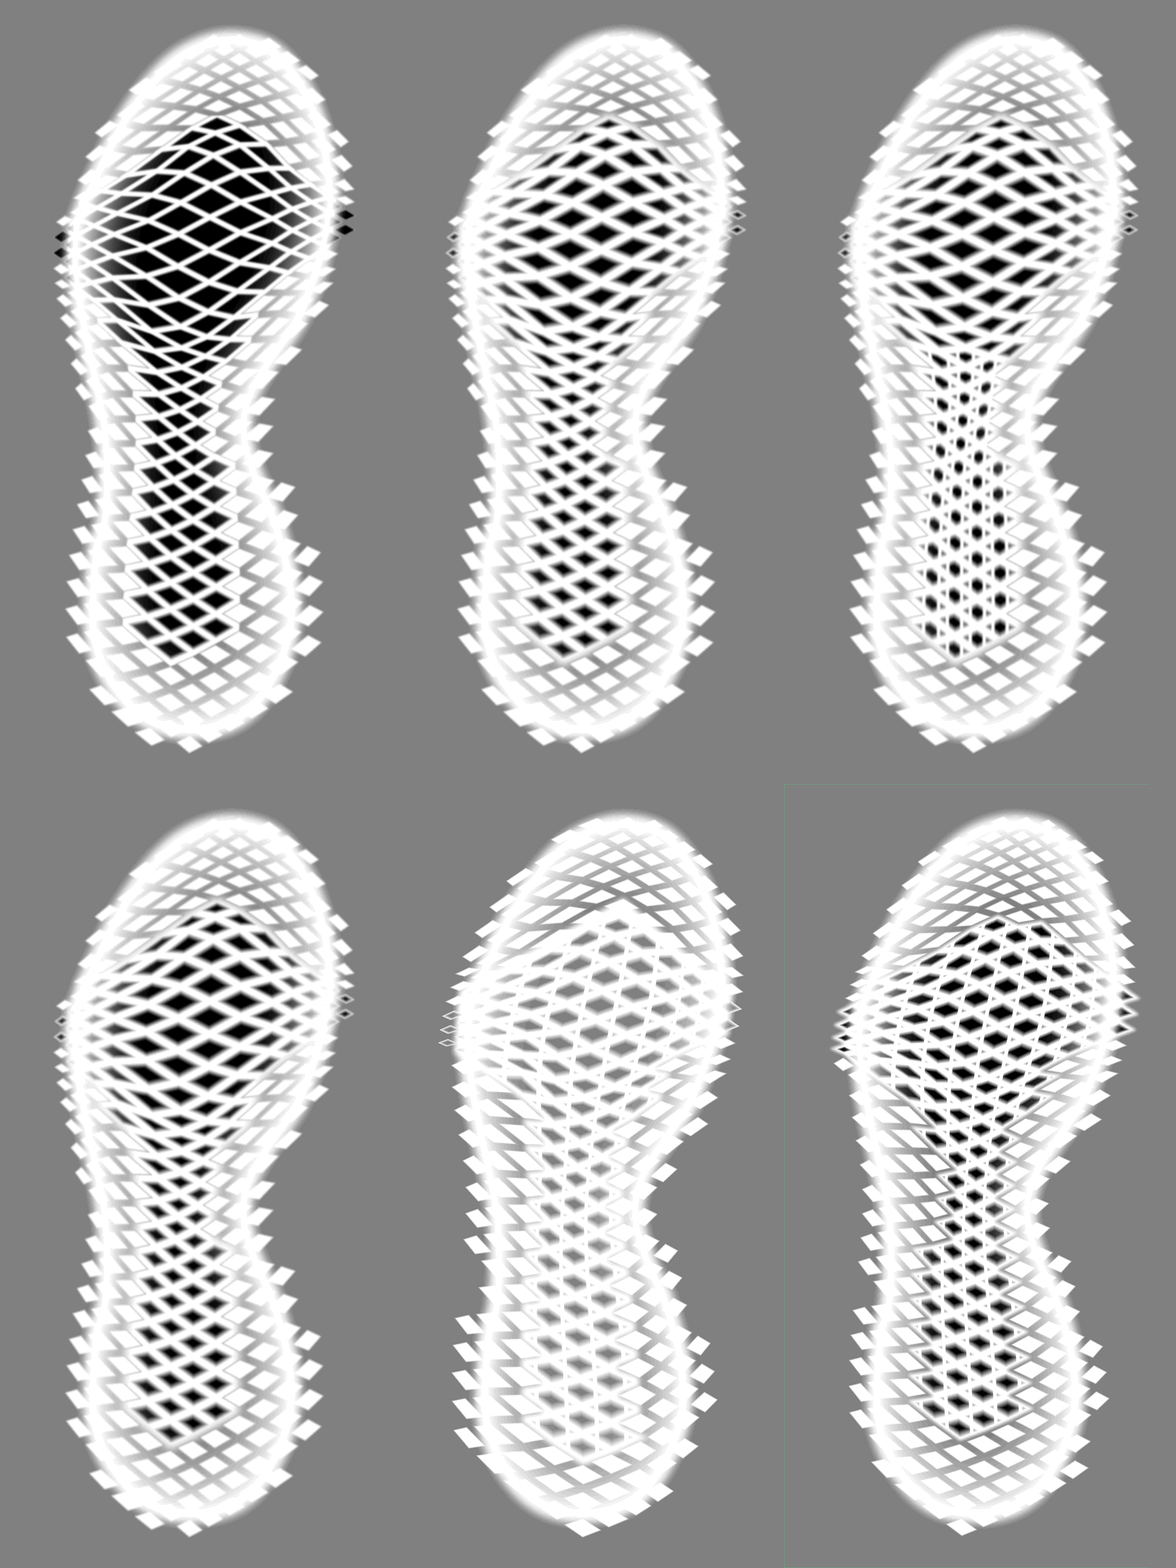
(Above) These images show the progression from an early grasshopper definition that was playing with the distribution of the details with an emphasis on forefoot flexibility. As I was able to get the concepts a little closer I leveraged Modo and displacement maps to give the design some volume to have a better idea of what the outsole tread would look like (below).
(Above) These images show the progression from an early grasshopper definition that was playing with the distribution of the details with an emphasis on forefoot flexibility. As I was able to get the concepts a little closer I leveraged Modo and displacement maps to give the design some volume to have a better idea of what the outsole tread would look like (below).
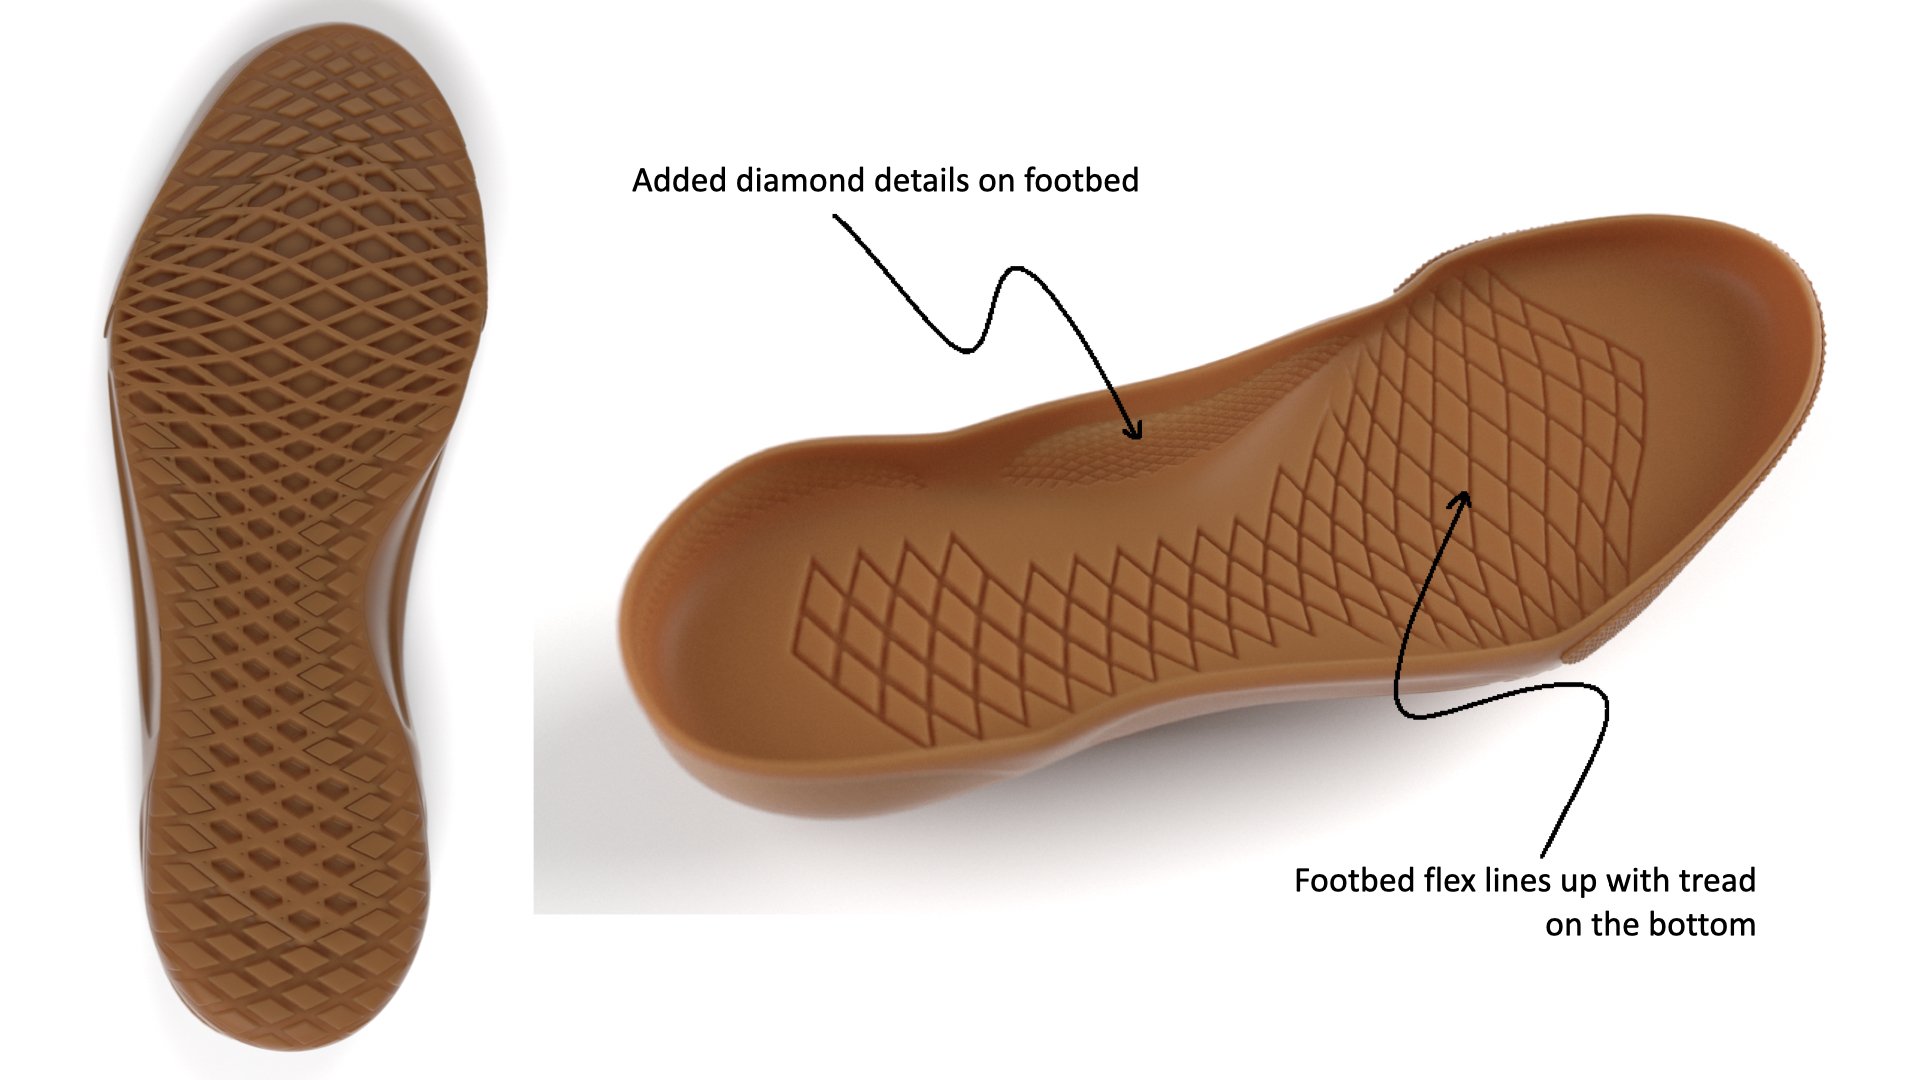
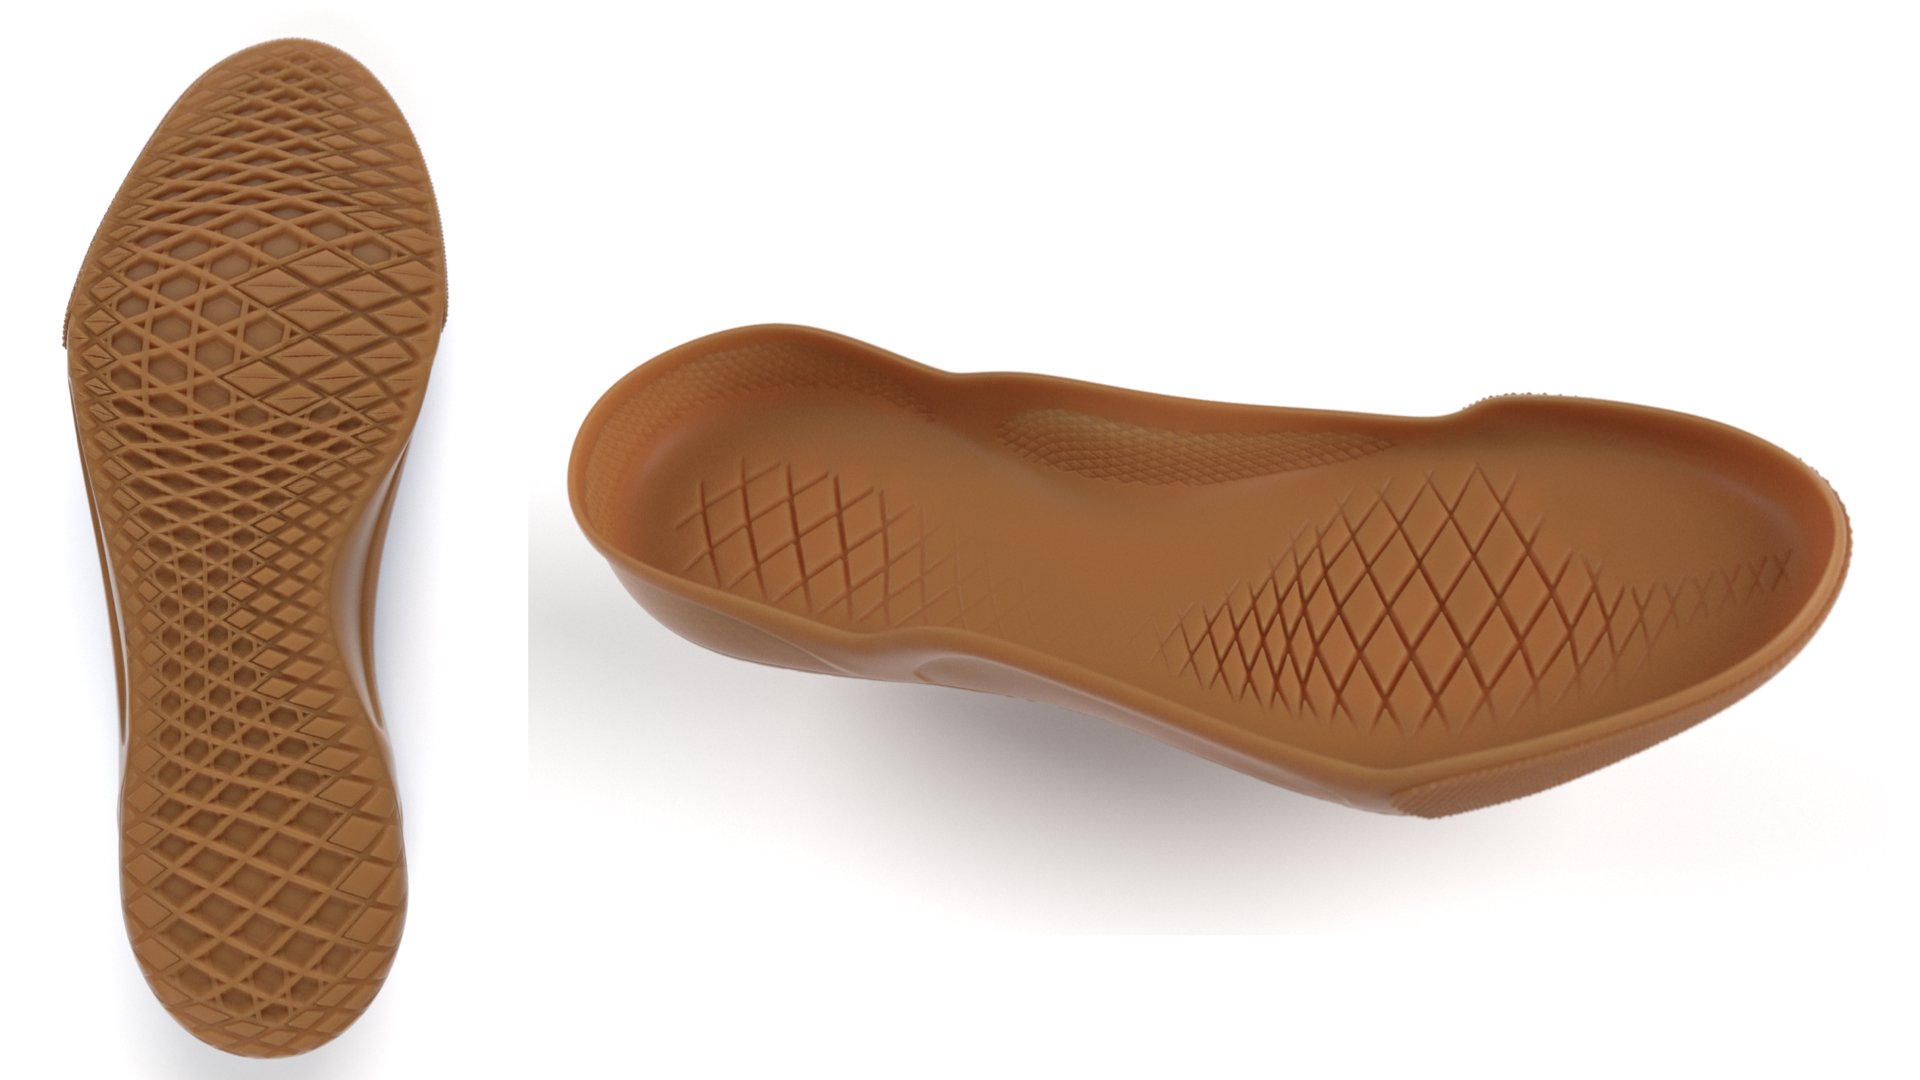
(Above) I was having a lot of fun playing with the design adding durability into the perimeter and added flex in the forefoot. I wanted to see just how much flexibility we could add into the design by adding some flex zones in the footbed to work with the outsole design.
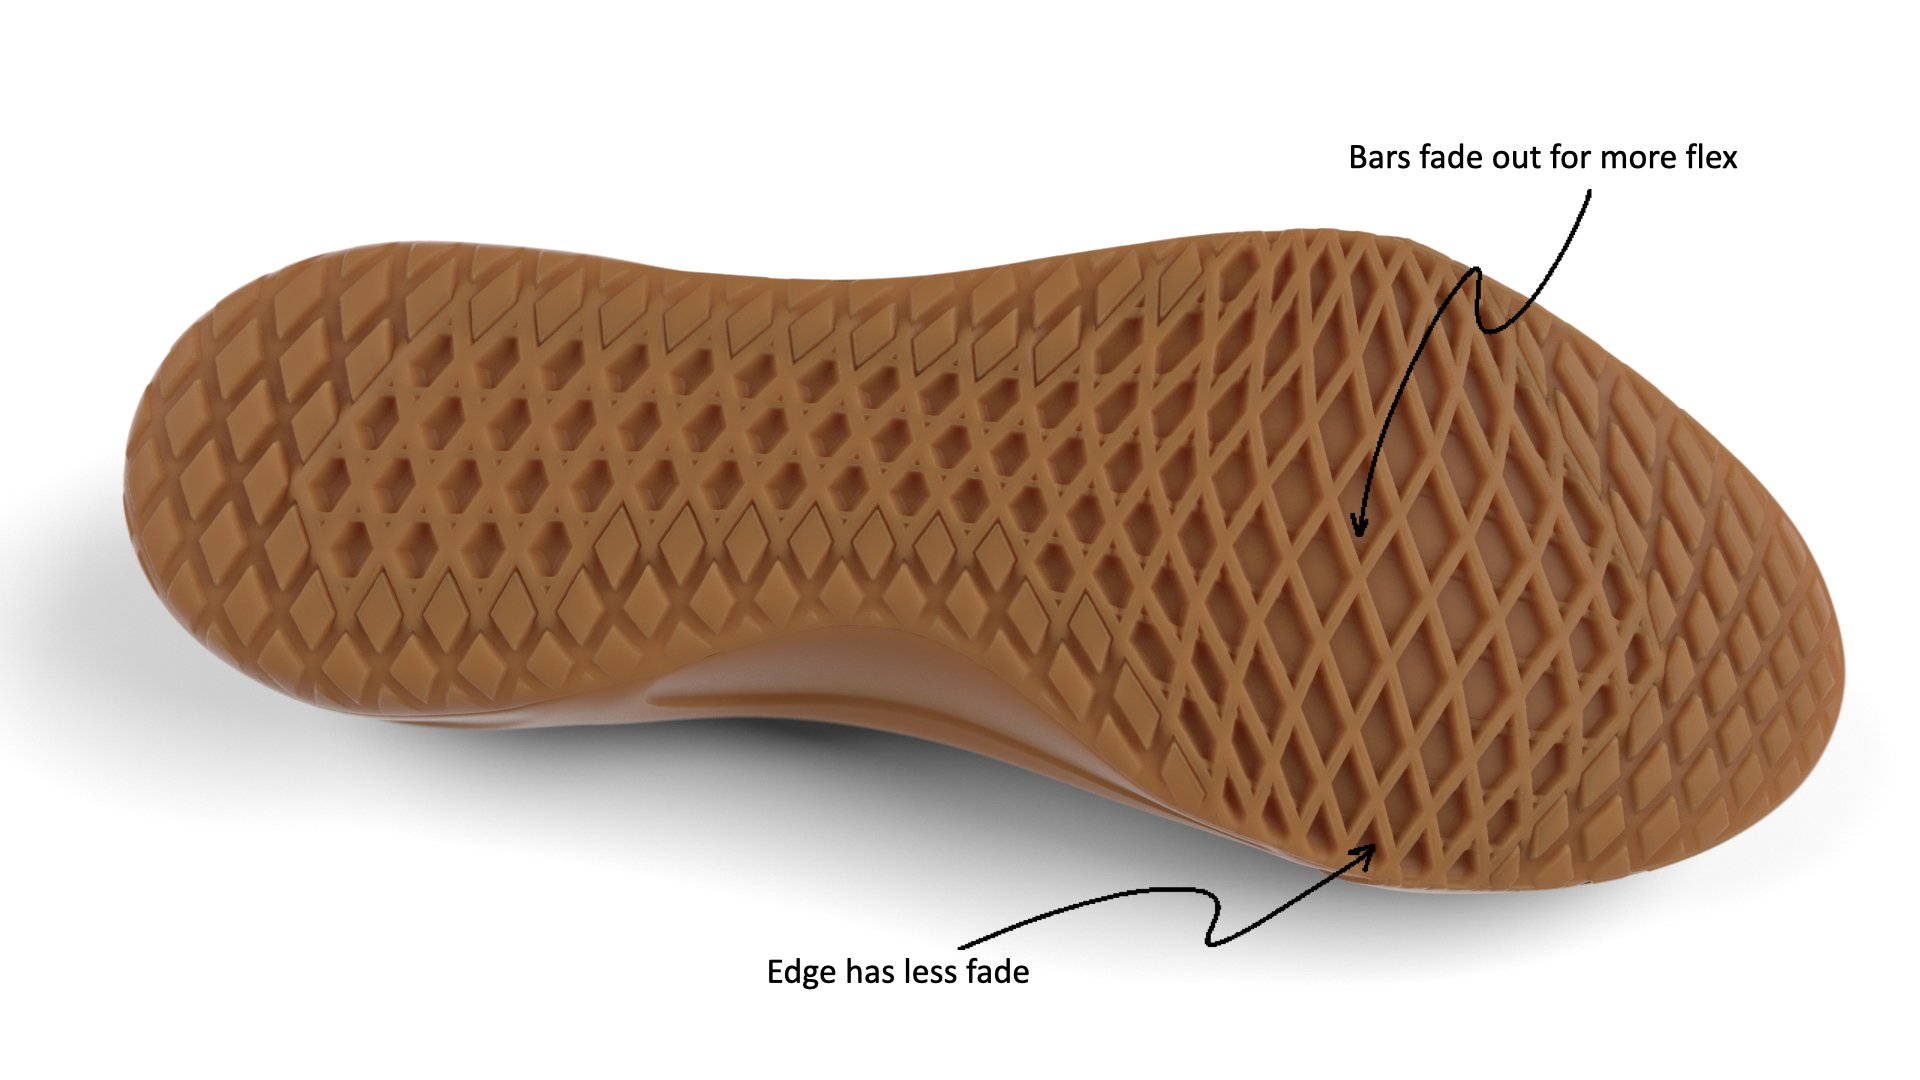
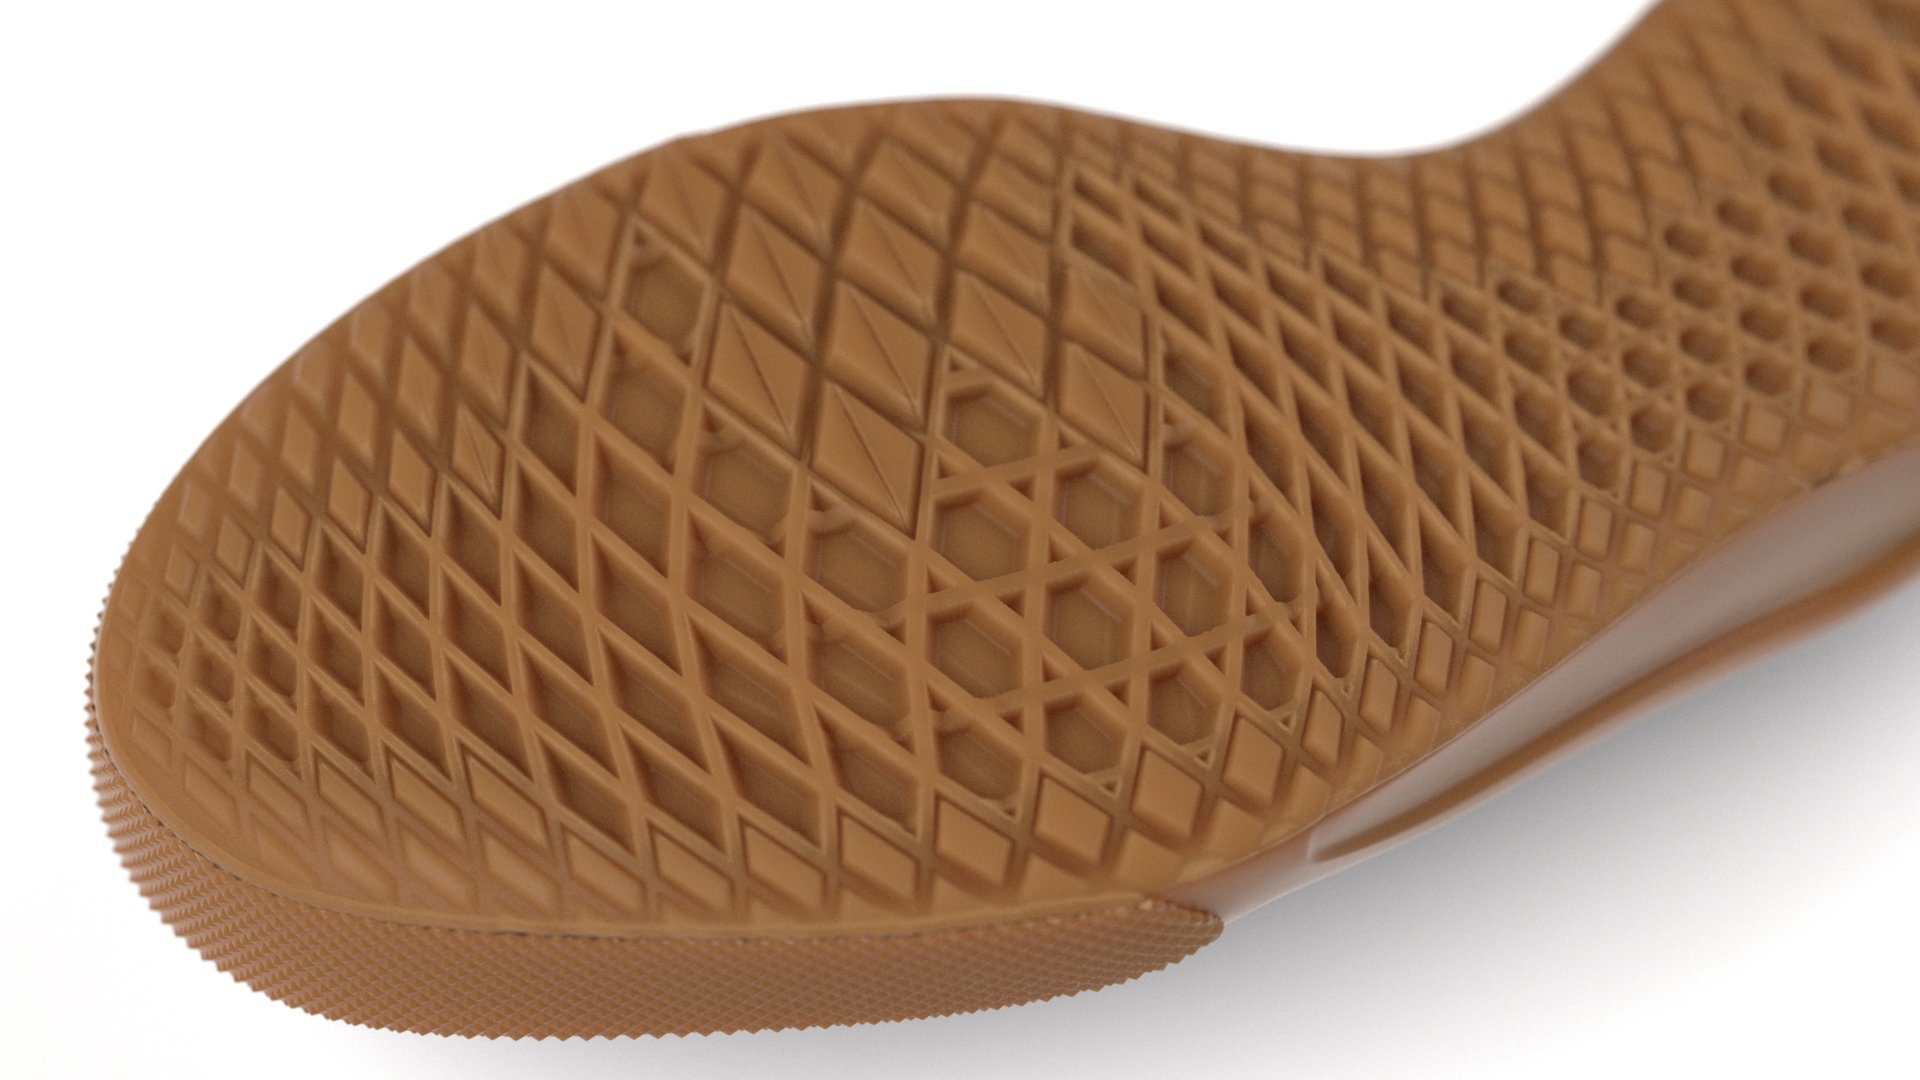
Having the vertical bars in the forefoot (Vans d.n.a) adds a reinforcement detail for durability but with this design I was using that detail to add cushioning by having those bars fade in and out.
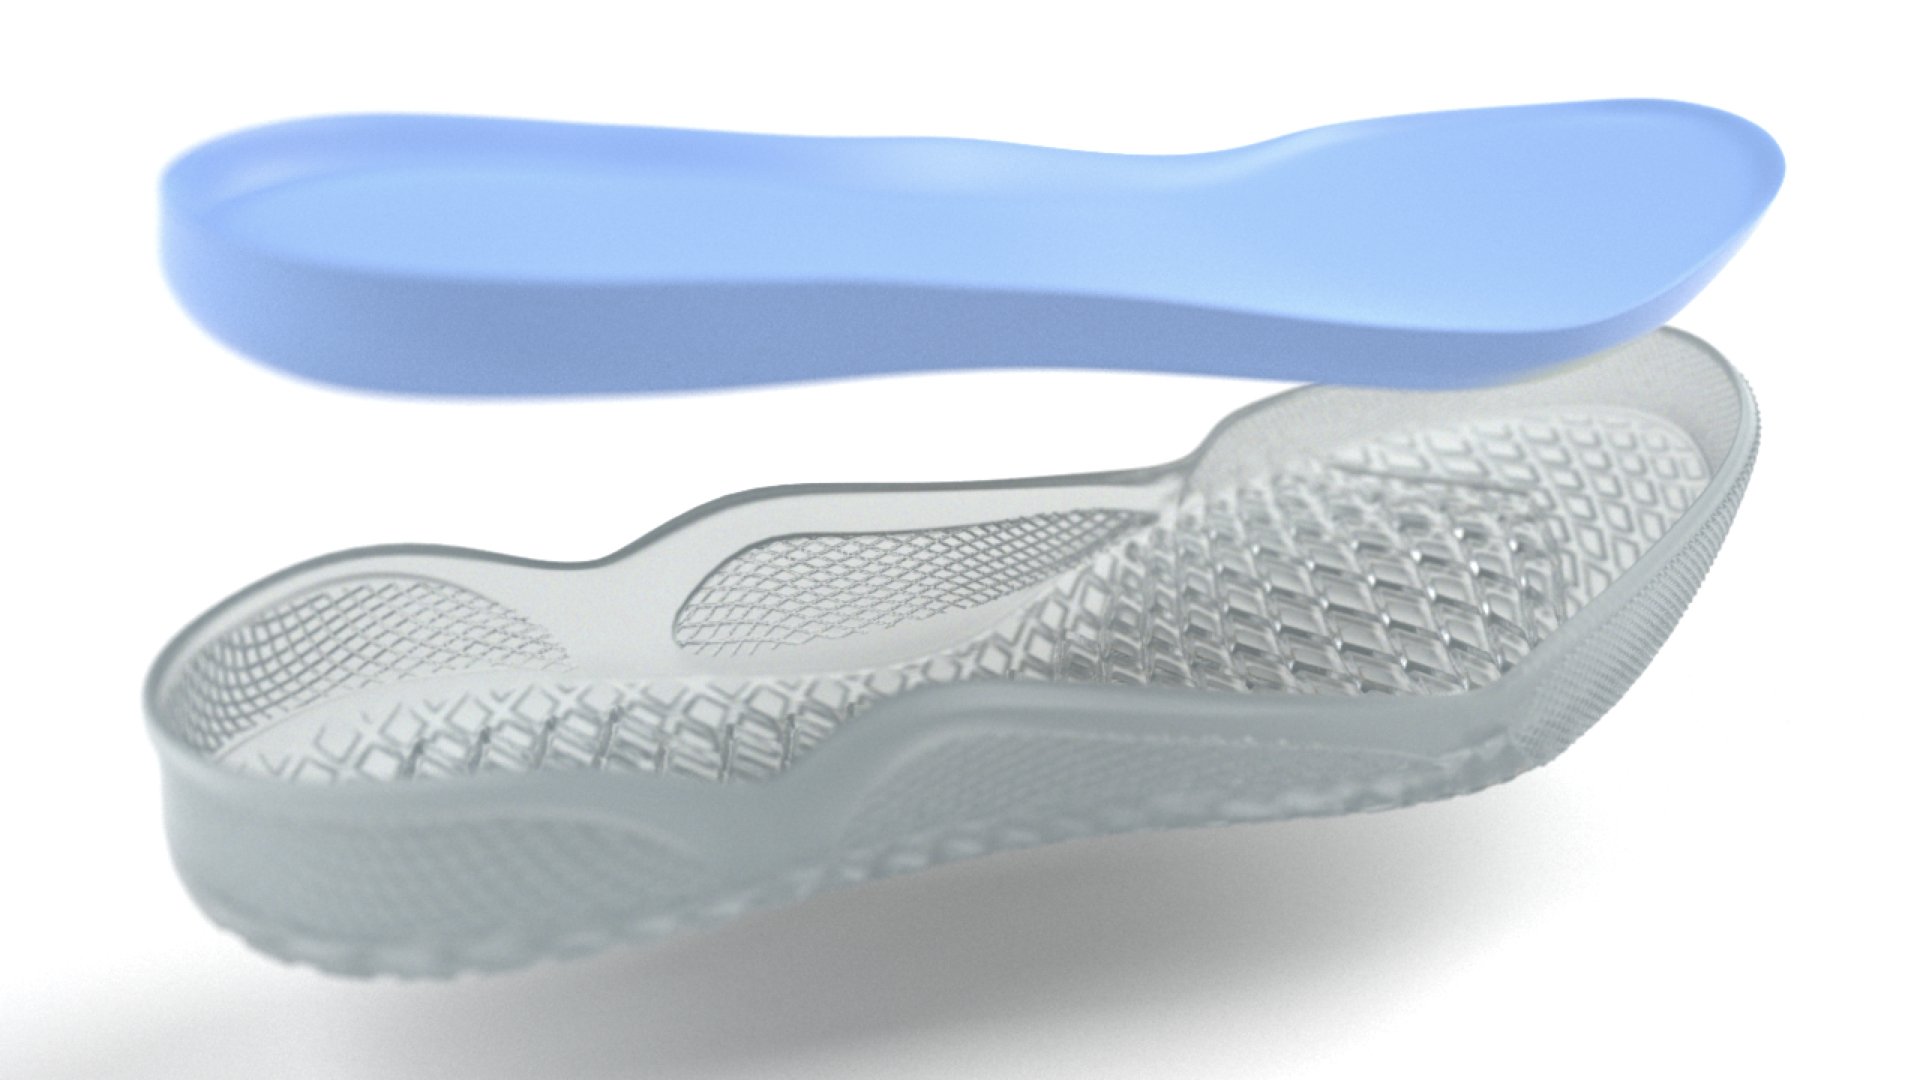
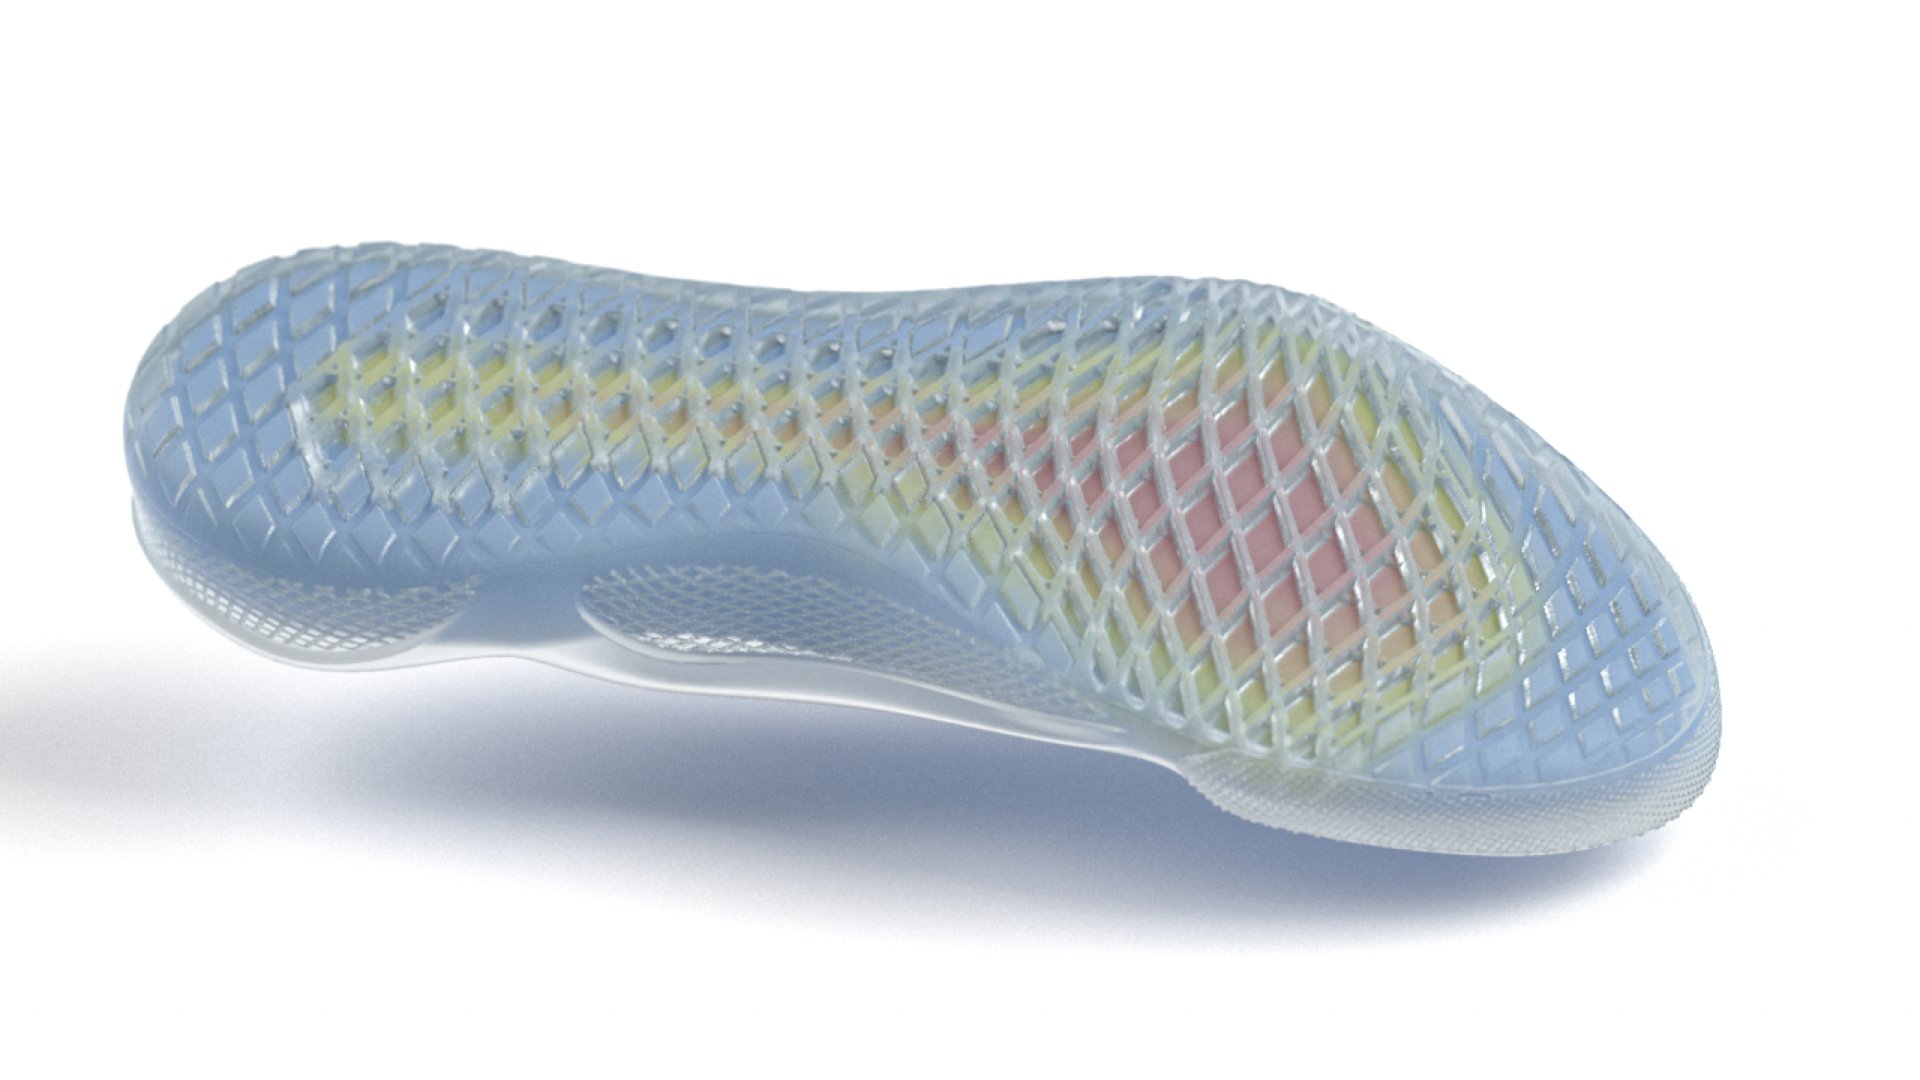
(Above) We played around with doing some treatments on the foam midsole/drop in to highlight data or just make a cool graphic. Ultimately we didn’t pursue it, however the conversations would prove useful for later design decisions.
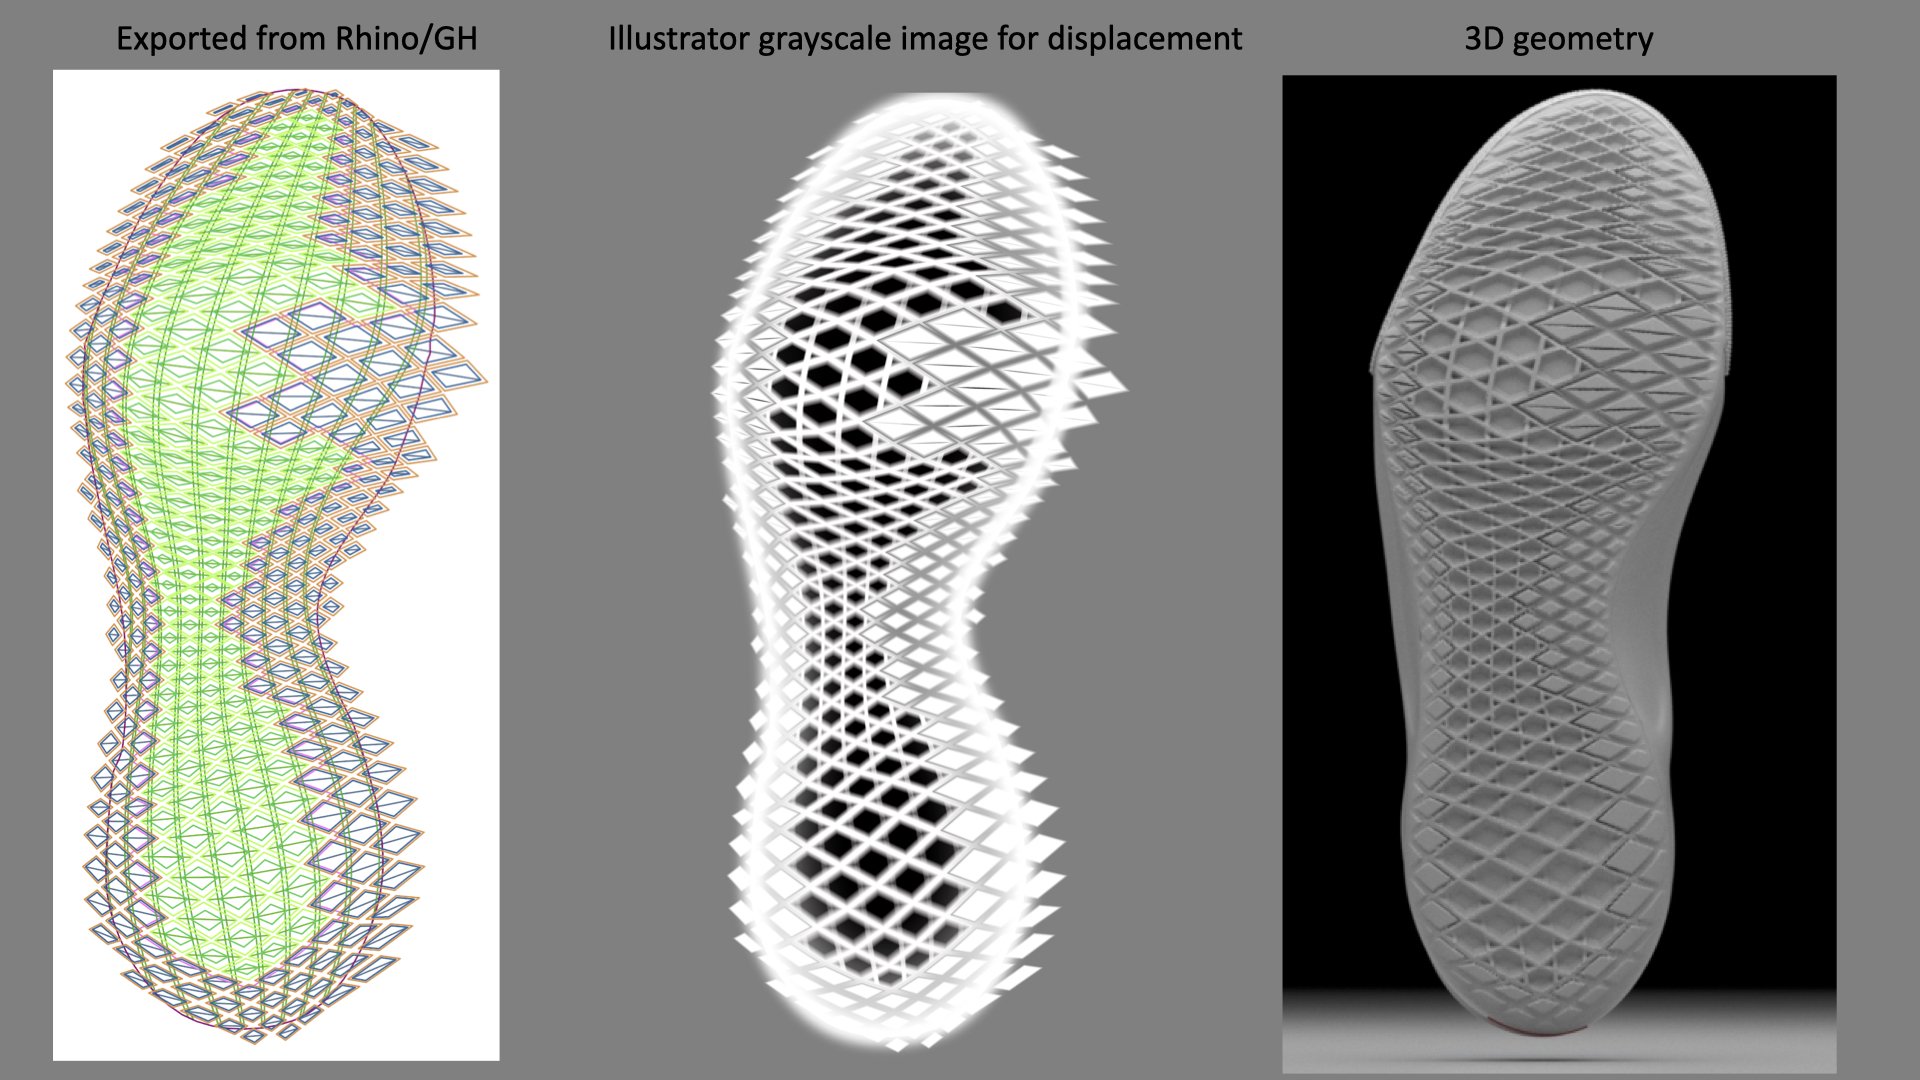
(Above) Timelapse of the different variations as we got closer to the final design. (Below) The process pipeline would rely on Grasshopper to generate the line work, Illustrator to generate the shader image for displacement, and Modo to create the final visualization.
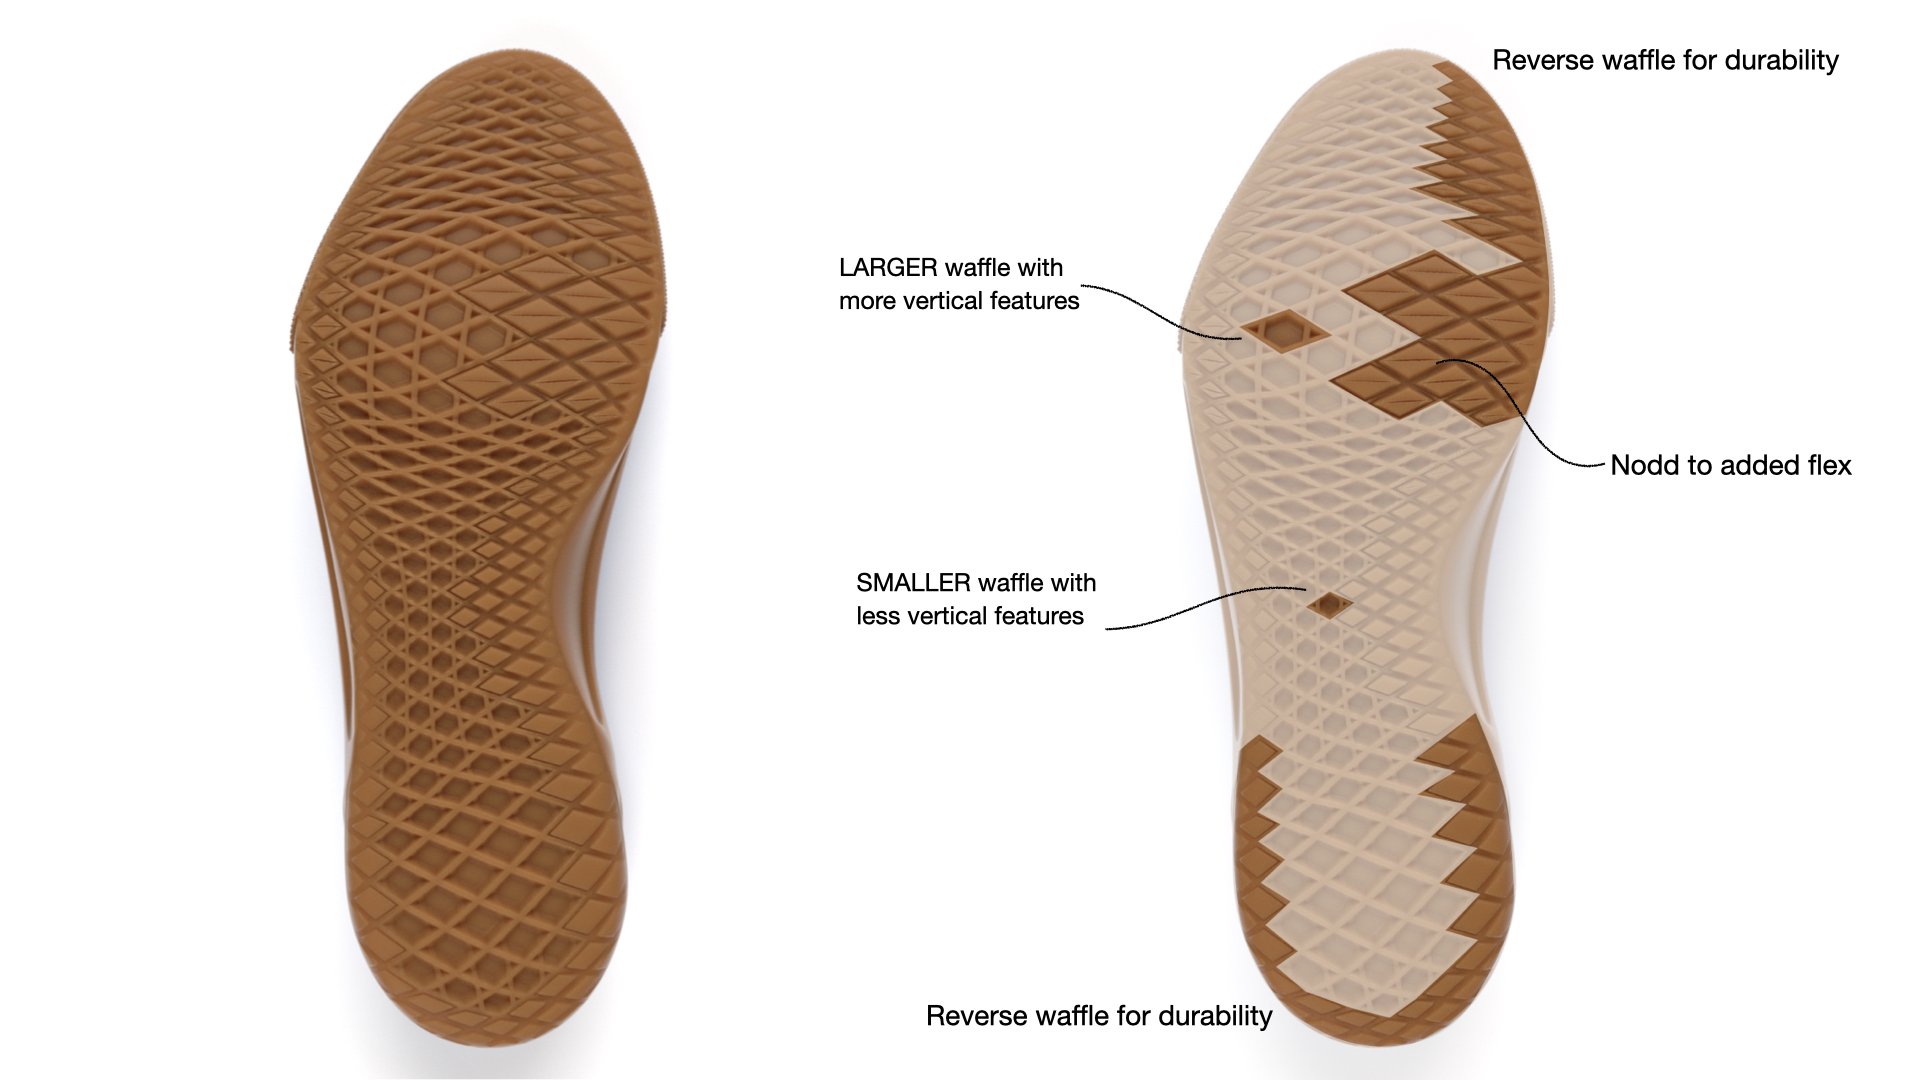
(Above) The final design with callouts for the different features built into the outsole.
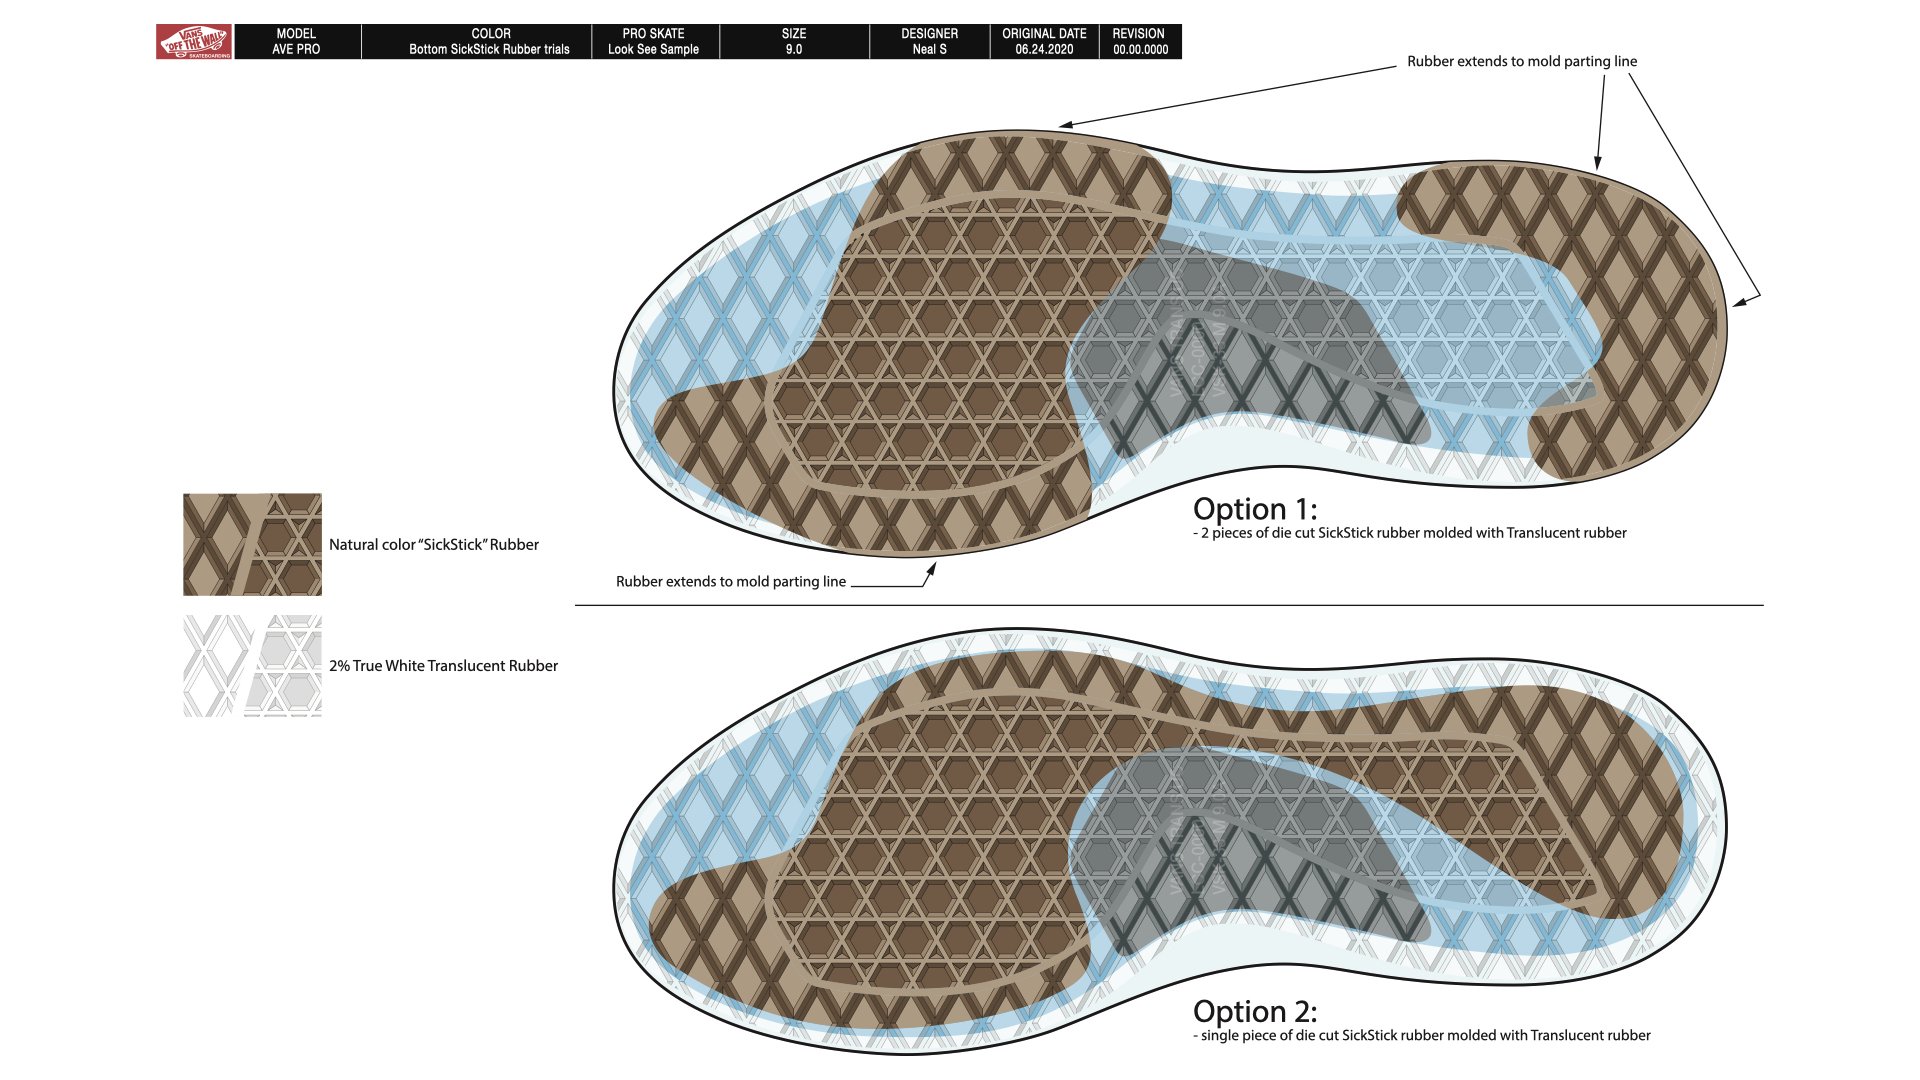
(Above) Something we explored was mixing clear rubber with Sick Stick gum. The visuals look great but we couldn’t get the materials to bond properly so we walked away from it.


